Backing up your computer is one of the most important things you can do to protect your data. If your computer crashes or loses your files, you will be glad that you took the time to back them up. This blog post will show you how to back up your Mac using Time Machine and restore your Mac from a backup.
Table of Contents
Step 1: Connecting a Hard Drive
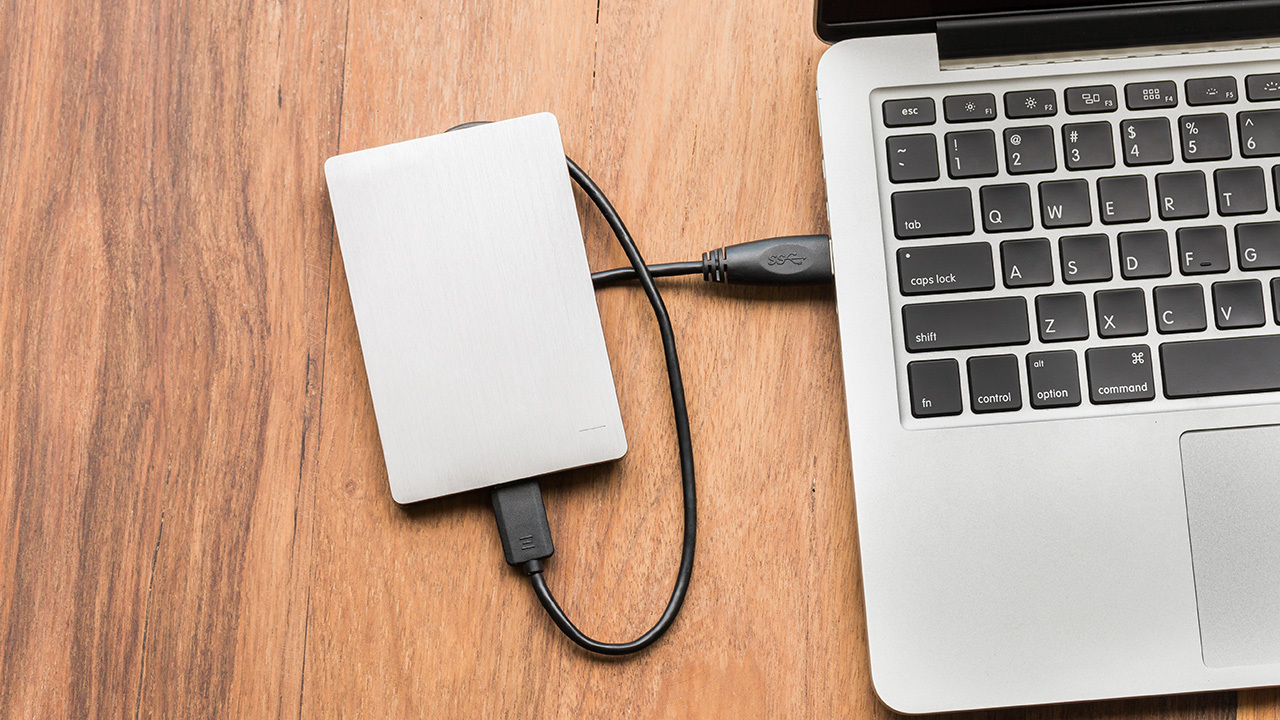
The first step in our guide is to connect a hard drive that you can use for backups. To do this, plug in the external hard drive. If it’s not already connected, plug one end of an Ethernet cable into your Mac and the other end of the cable into your Time Capsule.
Step 2: Configure Time Machine
Once you’ve plugged in your external hard drive, open System Preferences, and click on the Time Machine icon, you will be prompted to select a disk for Time Machine to back up to. This should be your external hard drive. If it’s not already set, click on the Use Disk button. After clicking Use Disk, click on the Options button. The box that pops up will give you options to encrypt your backup disk or turn off backups while traveling. You can choose how often Time Machine performs backups by moving the slider along the bottom of this window.
Once you’ve selected your settings, click on the Use Backup button to continue.
Step 3: Configure System Preferences for Time Machine
Now that you’ve set up your backup disk, you will need to configure your Mac to back itself up every time you shut it down or restart. Go to System Preferences and click on the Time Machine icon. Click on the Select Disk button and select your backup hard drive from the list. As explained at https://www.backblaze.com/blog/time-machine-synology-b2-backup-restore/, Time Machine is a built-in backup feature in macOS that makes it easy to back up your computer. Experts recommend using a 3-2-1 method that combines local storage like a Time Machine backup with off-site backup to provide an additional layer of security and redundancy. Alternatively, you can create a copy of the Time Machine backup and send it off-site automatically.
Next, you will need to choose what you want Time Machine to back up. You can either opt to back up all files or just specific folders. You should select the option “all files” so that all of your data is backed up regularly if your Mac crashes. Once you’ve chosen this, click on the UseBackup Disk button.
Step 4: Creating a Backup Plan With Time Machine
Now your Mac will automatically back itself up every time you shut down or restart. However, if you want to create a backup plan, you can do it from System Preferences by clicking the Options button in the Time Machine window.
If you select “all files,” your Mac will back up all your data. If you choose “overwrite older backups,” your most recent backups will be deleted and replaced by the new ones, allowing you to keep only one backup set for each day. You can also customize what Time Machine backs up by clicking on the Options button and selecting the items you want to include in the backup.
Step 5: Create a Manual Backup Plan
Although your computer will start making backups on its own, you can also create a manual plan through Time Machine. Click on the Time Machine icon and navigate to an earlier point in time. You can do this by clicking on the timeline along the right side of the screen, which will show you a snapshot of your computer when you select. Click on one of these images to have Time Machine backup all files or just specific items.
You can also click on the Restore button and use your backup to restore a file that you deleted, a previous version of a file, or a file from an earlier point in time.
Step 6: Restoring From a Time Machine Backup
If you ever need to restore your Mac, you have to connect the backup hard drive and select it as the disk that Time Machine backs up to. Then click on the Restore button and select which files or folders to restore from your backup image. When you’re done, click Restore to confirm your selection.
You must keep your backup hard drive in a safe place, such as on top of your desk or in the same room as your computer. It’s also highly recommended that you unplug it when you’re not making backups so that it doesn’t get damaged by power surges, dust, animals, or other factors. Keep your backup hard drive clean and unplugged to ensure that Time Machine can continue making backups when you need them most.
Your Mac will now automatically back itself up every time you shut down or restart, and you can create a manual backup at any time through the Time Machine interface.


